
Day 2 of my blogging challenge, and I thought I would share with you one way that I’m spending quarantine. I know this is a bit more old-fashioned and a bit more time consuming than just having a digital photo frame and uploading all of your photos, but I feel like scrap booking gives me a chance to interact with old memories. It also gives me a chance to be a little more creative when I look at these things.
In honor of National Scrapbook Day, I want to take you through my process. I don’t think mine is that different from anyone else’s, but there has to be something here that makes me love it as much as I do. Hopefully, it goes beyond me having a handheld and my love for turning pages.
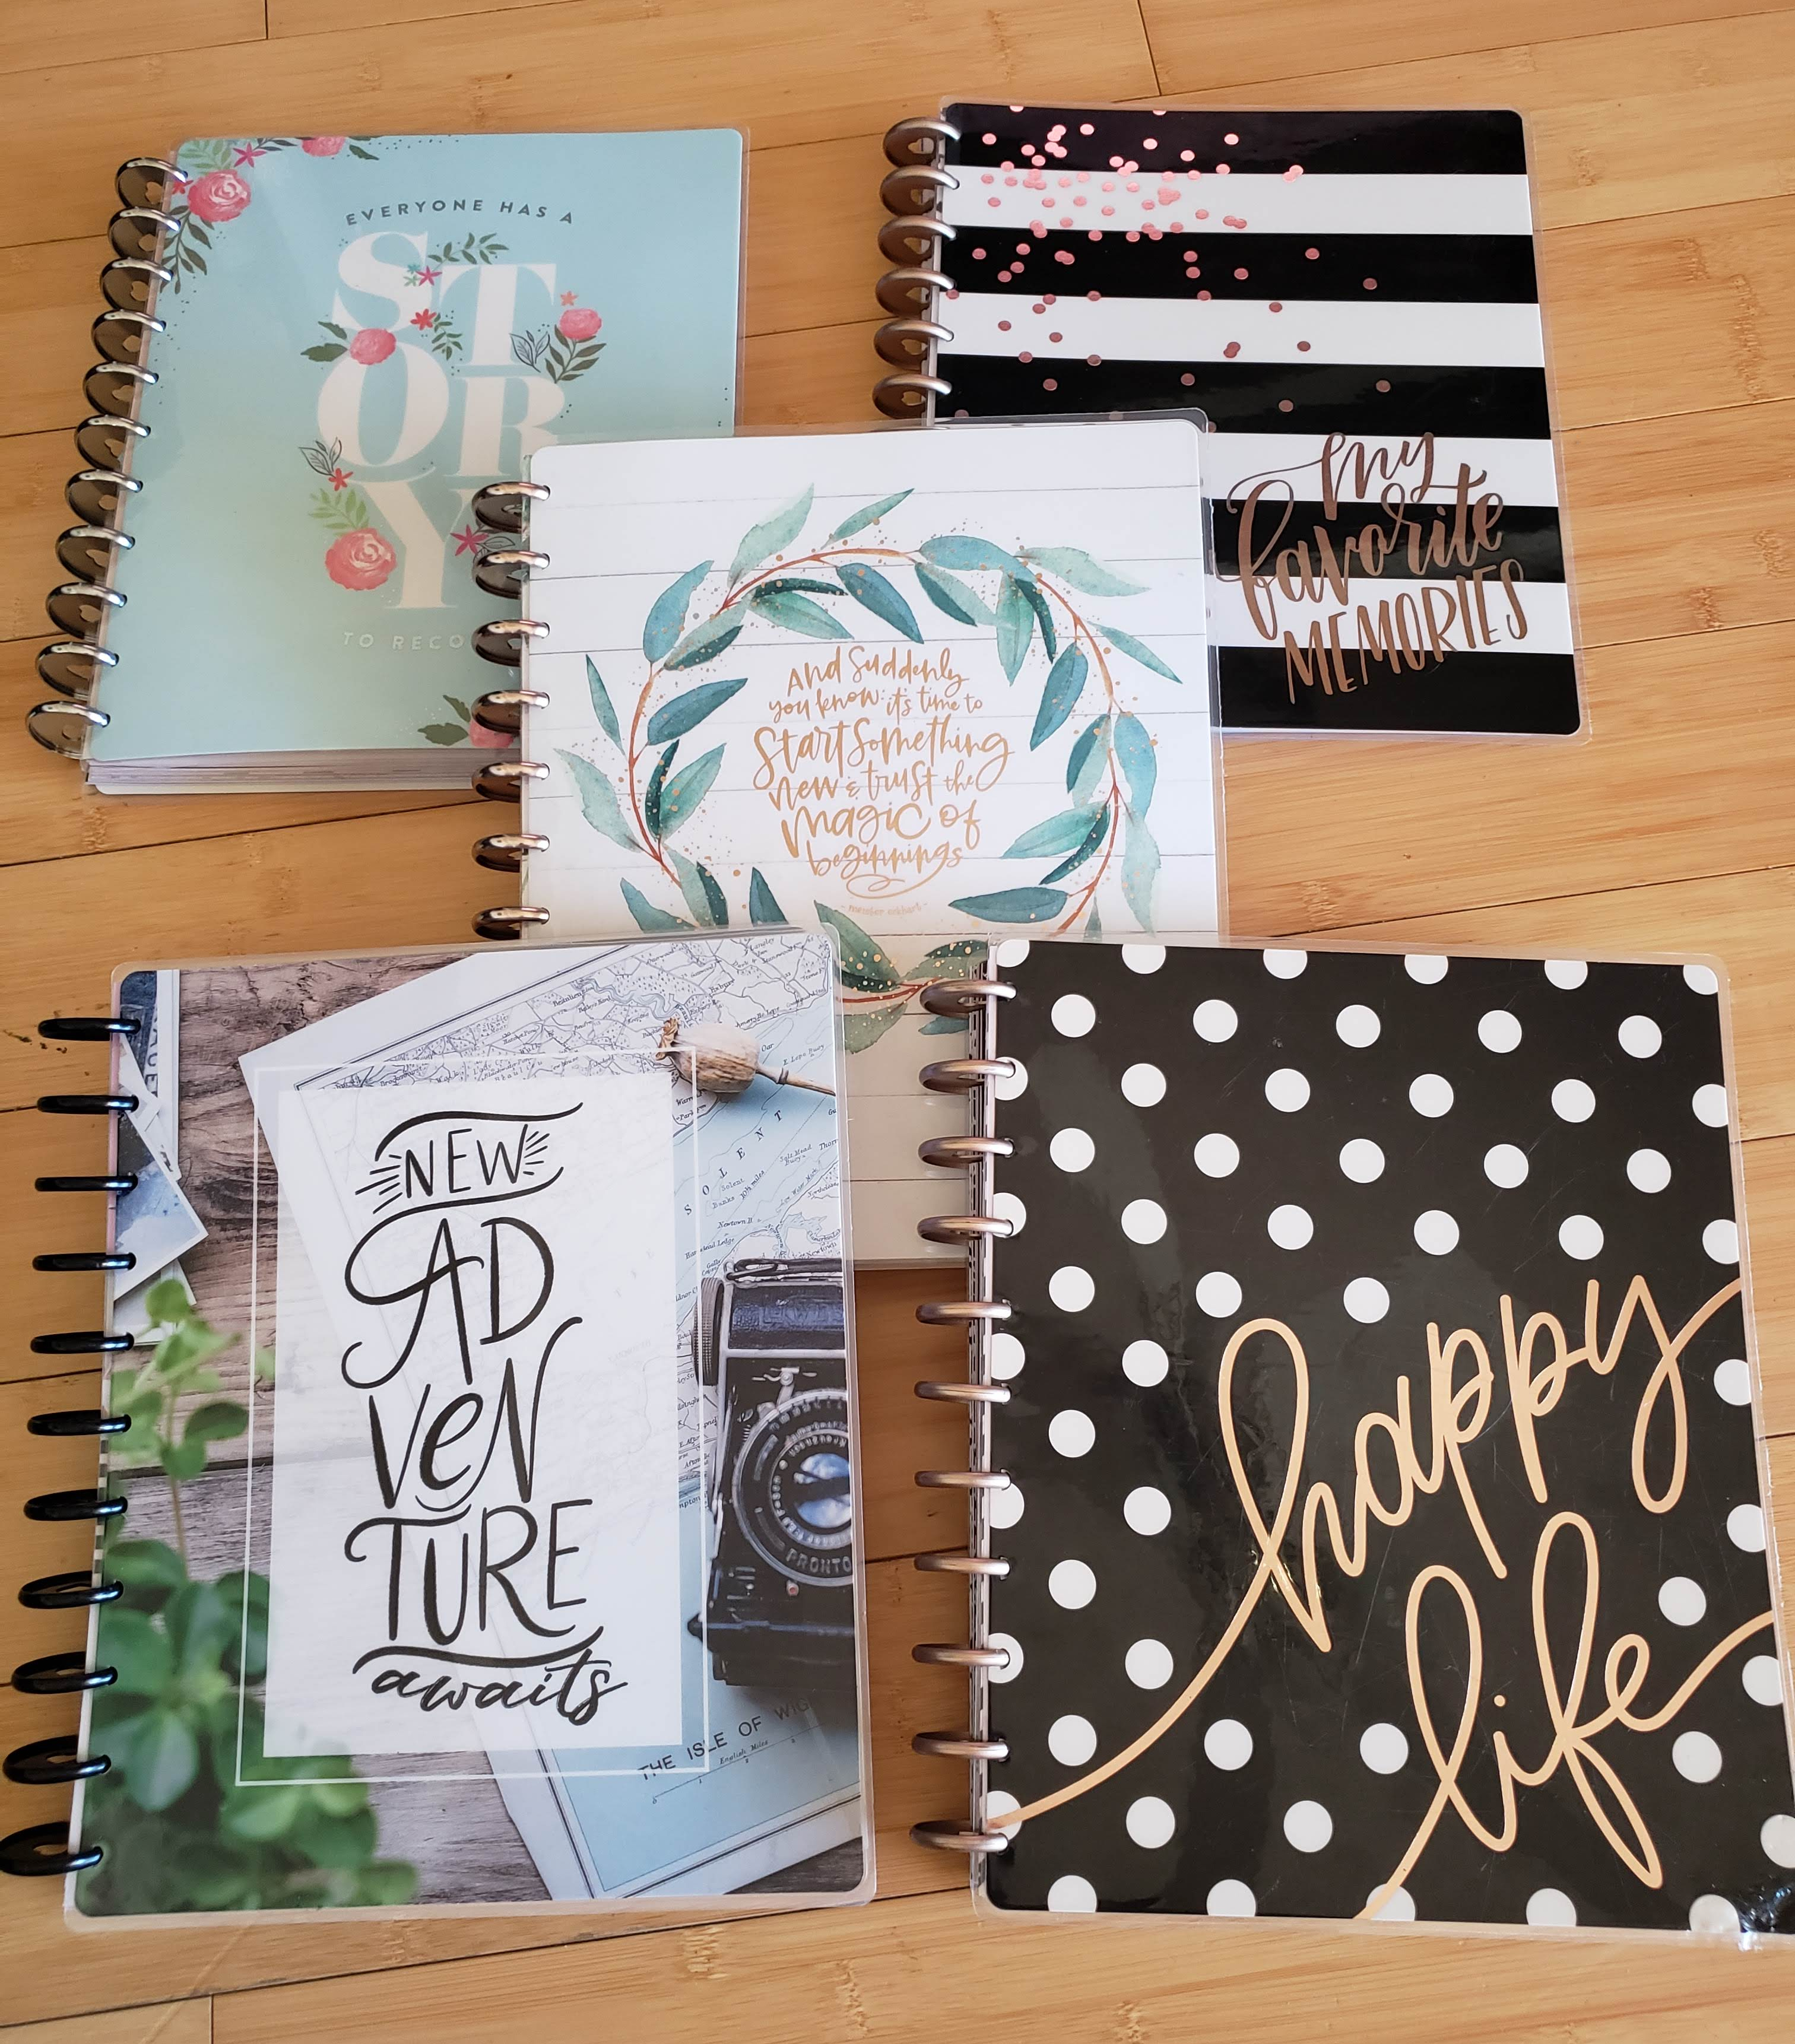
What Album Do I Use?
I actually don’t use a standard album for my scrapbook. I personally feel as though they are really thick, and take up a lot of space. They also get pretty heavy. One of my friends actually told me about the Happy Planner from the me & my BIG ideas company. While I already had a planner, I found that they have a Happy Memory Keeping Planner as well, and that is what I use as my scrapbook (I also mention this company in my DIY Planner Post. I kind of really love them). It takes up less space than your standard scrap book, and I have really customized it to fit what I want it to be.
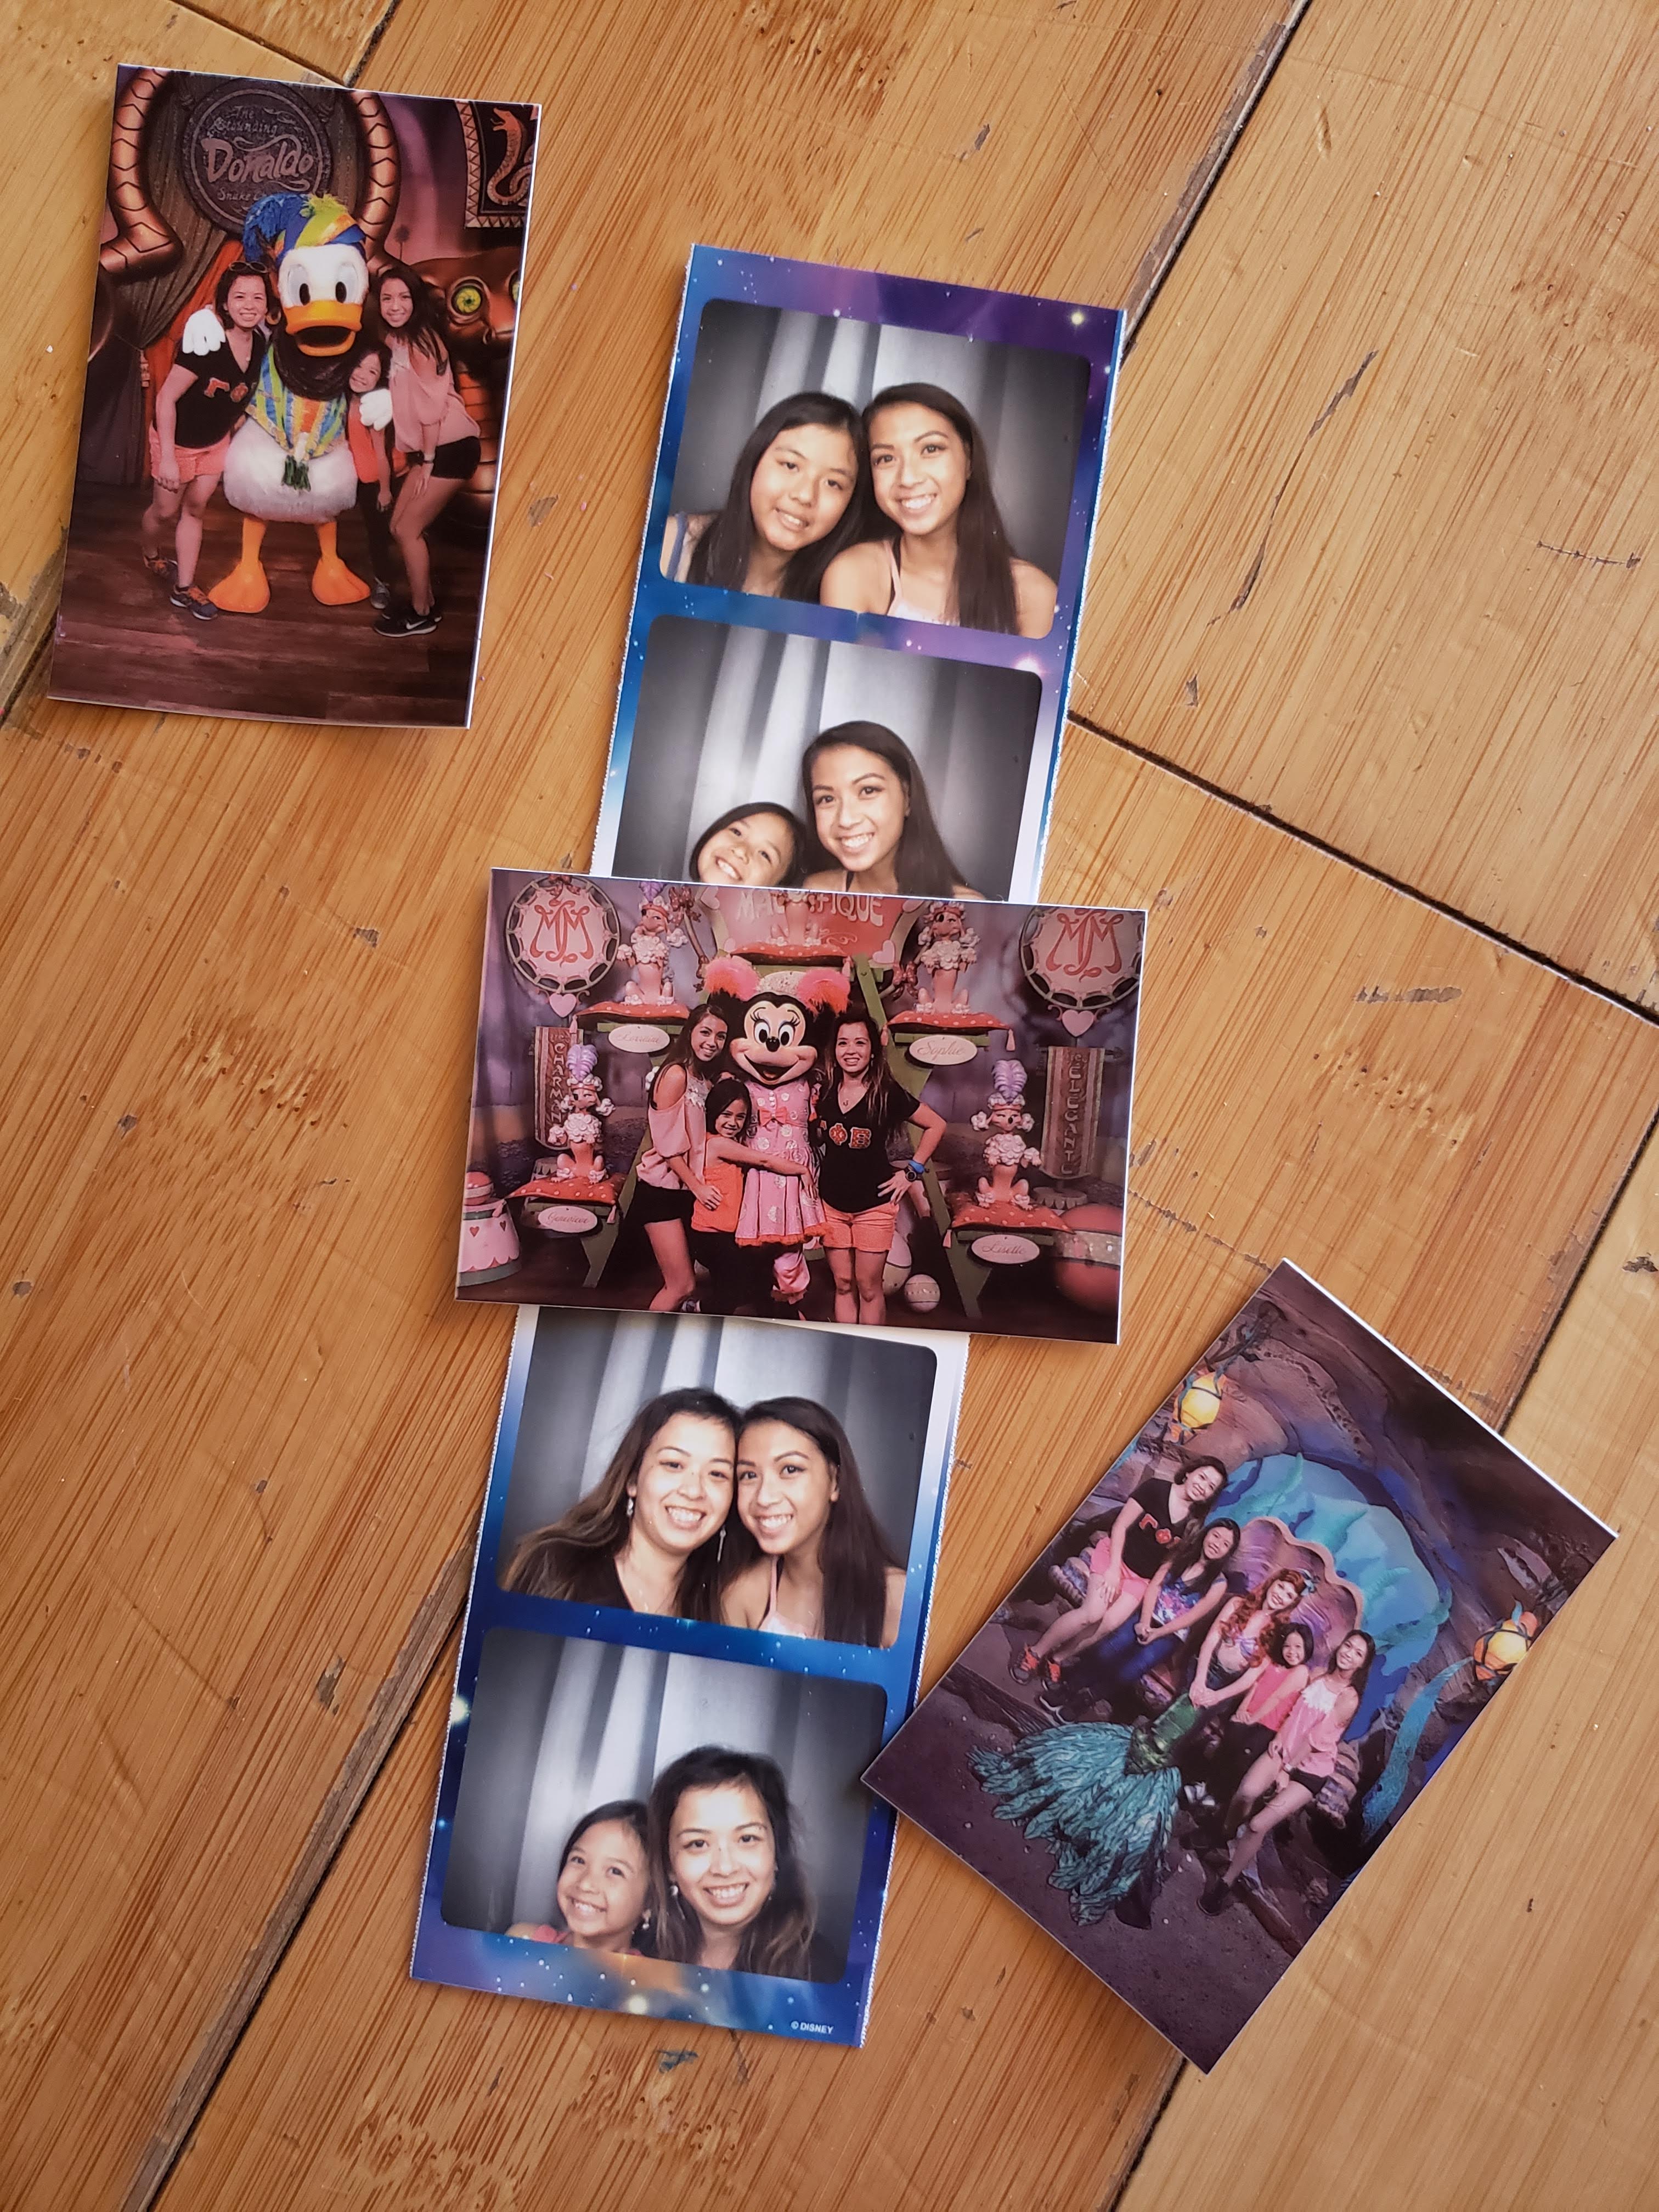
Step 1: Choose Your Photos
For me, I’ve organized my photos by day/event/occasion, but everyone has a different method. I know my sister likes to organize hers by people, and another one of my sisters likes to think of a color scheme before choosing photos. However you choose your photos, remember that its your scrapbook, so do it in whatever way makes you happy. I’ve chosen mine from a trip that my sisters and I took to Magic Kingdom.
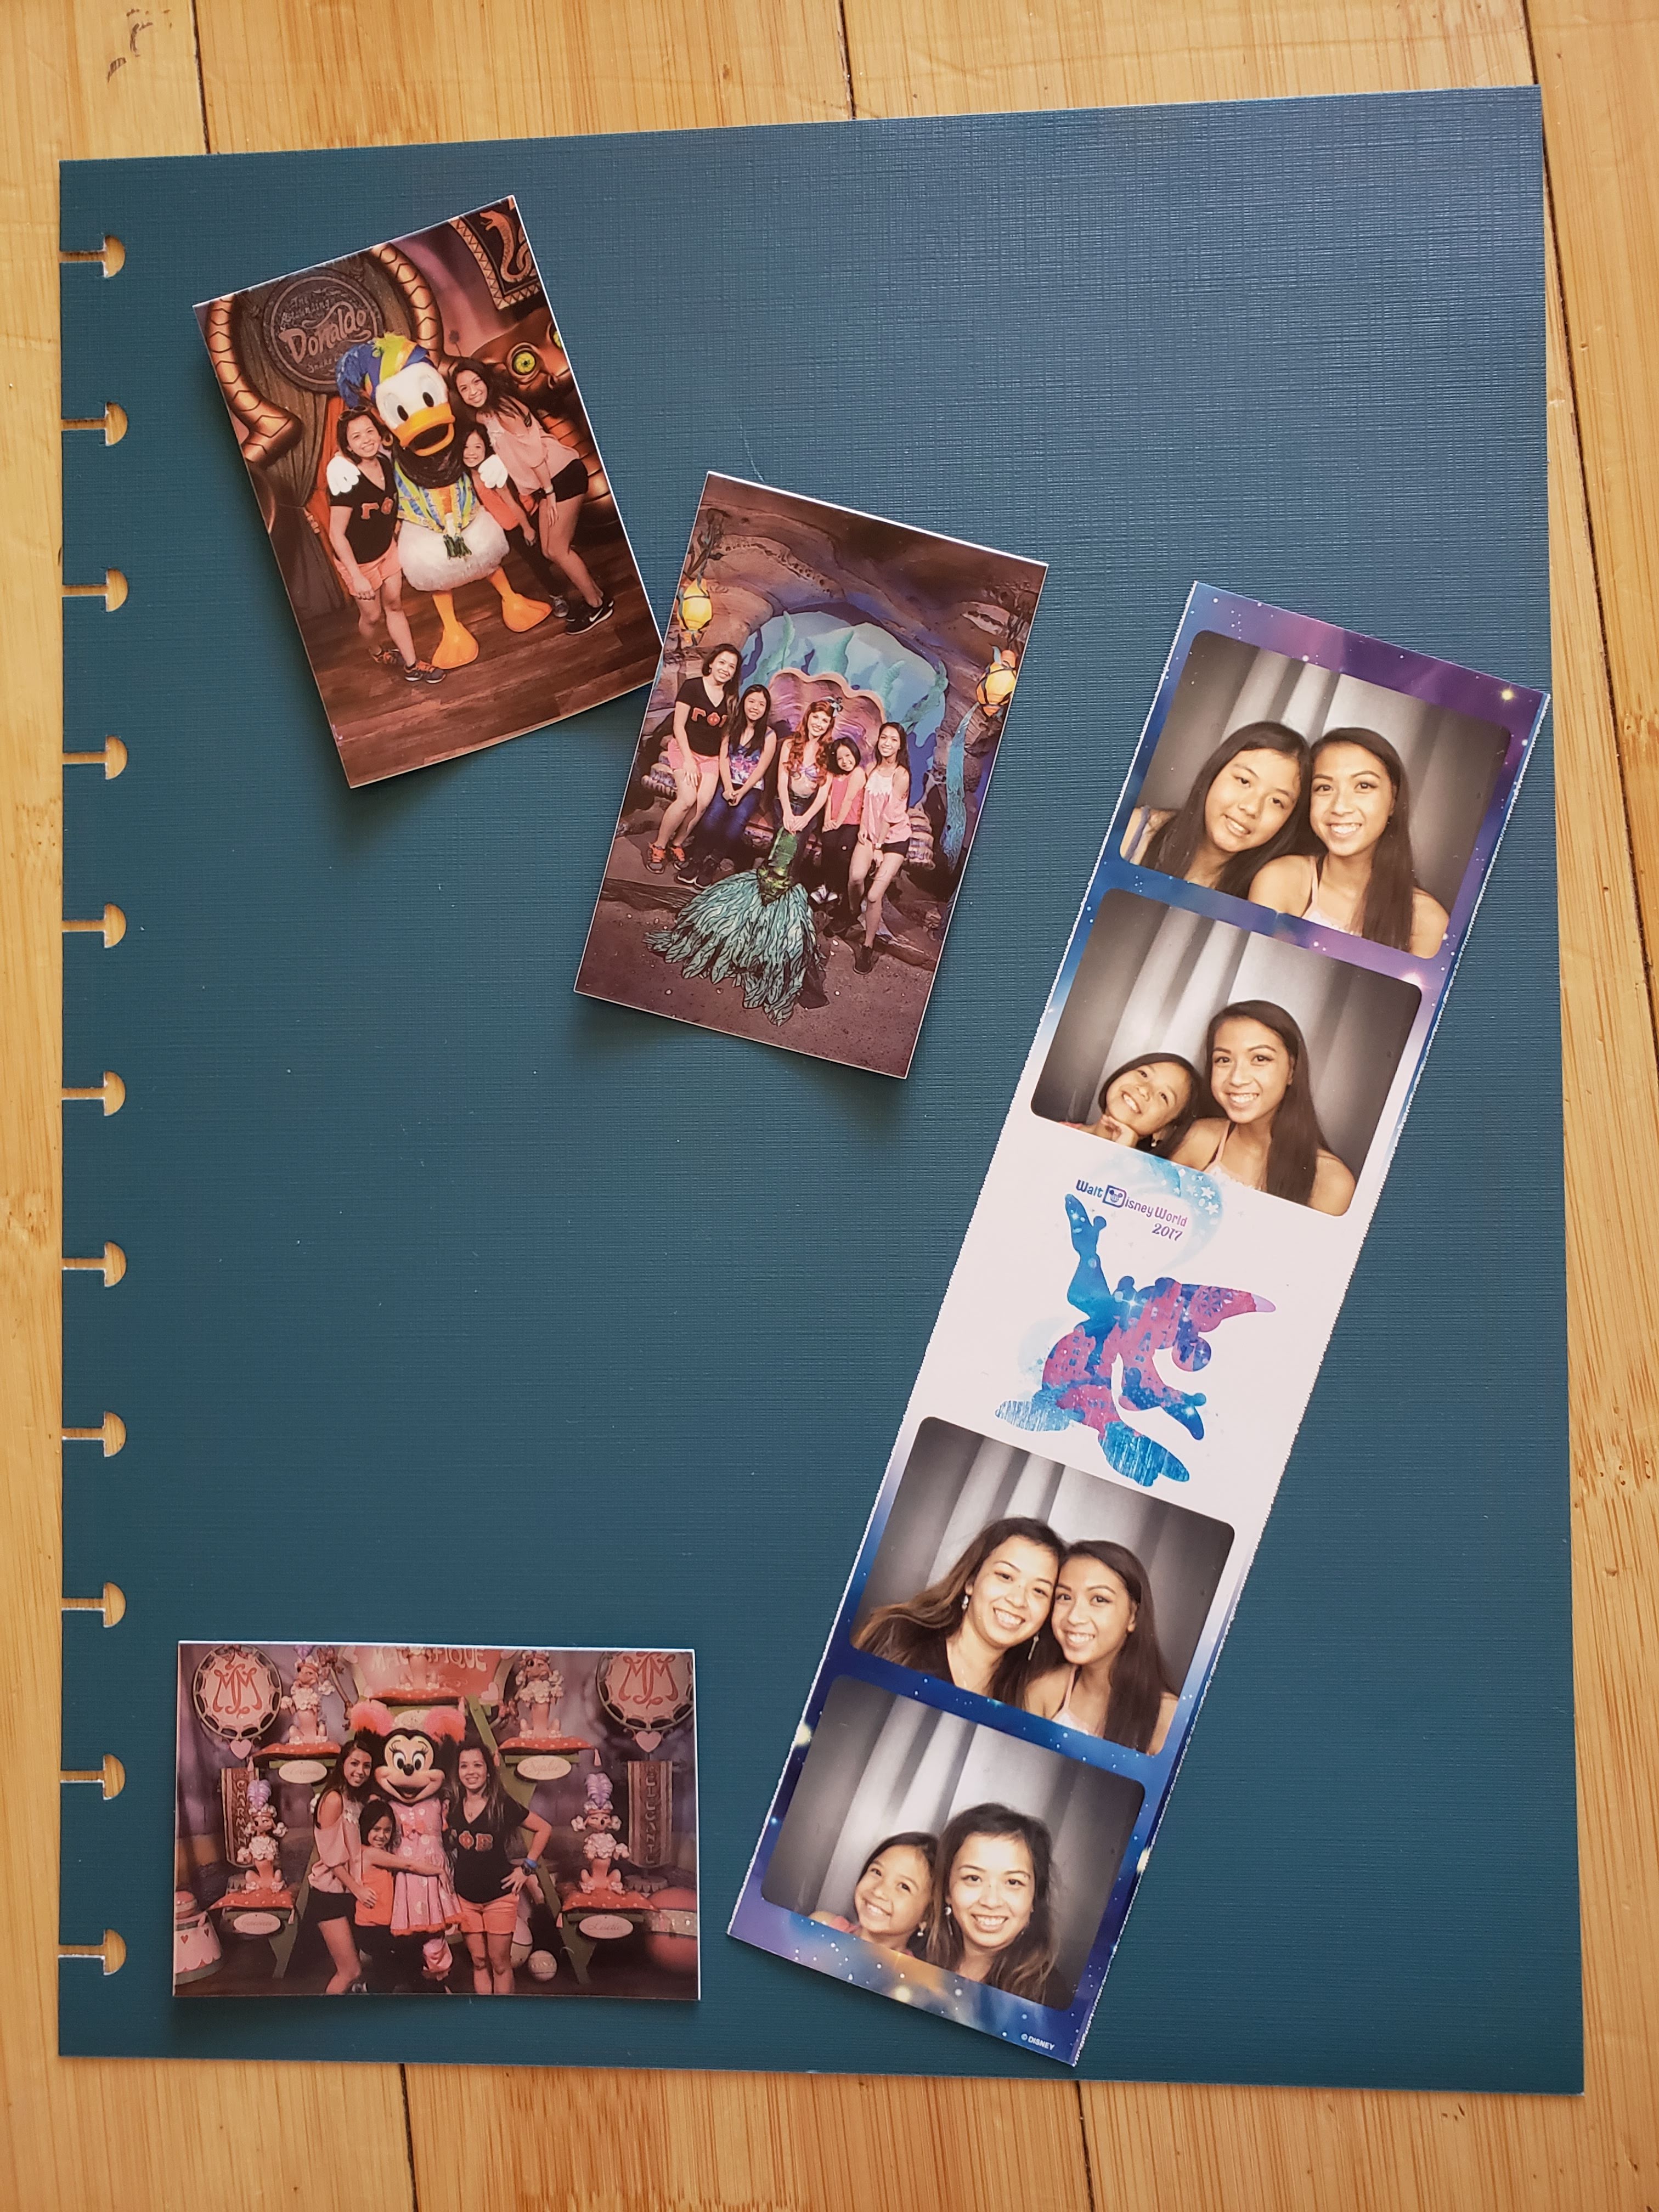
Step 2: Choose Your Background
By background, I mean the paper that these photos will be set against. Depending on the photos, I might choose a beautifully designed stock paper, or I might enjoy the simplicity of a white background. You can also use construction paper or whatever you have on hand, because you’re going to end up decorating it anyway. For today’s project, I chose an ordinary teal page to compliment my photos, since they already seem to have a lot happening in them.
Step 3: Organize Your Grid and Attach
You want to make sure that all your photos fit on the page, or you want to make sure that you have the space to put the photos where you want them. This way you don’t have to worry about if everything will fit together. If things don’t fit, there’s no harm in cutting some photos, or expanding the original single page into a two page spread instead. Or if you really want to keep it to a single page, you can always try to overlap things and make an old-fashioned collage.
Step 4: Customize with Tapes, Stickers, and/or Designs
Sometimes I think I want to design little doodles and write some things on my page; other times I realize that I am inadequate when it comes to designing things and my handwriting isn’t as consistent as I would like it to be. In that situation, I love stickers because they are cute and make me feel like a little kid all over again. Washi tape is also great for creating a crafty photo frame that contrasts beautifully on a white page.

And that’s pretty much it. You’re all set. For me, this ended up being a second page to this where I wrote some memories I had from the day, because I didn’t have the space to include that on this page. I hope this helps you look back on your memories with pride.
What is your favorite memory? How do you like to reminisce on life? How are you filling this time in quarantine? Tell me in the comments down below.
Thanks so much for taking the time to read my blog today. If you enjoyed what your read, feel free to like this post, share it with your friends, and if you really enjoyed it, make my day by subscribing. I hope you all are staying safe and healthy in these times.
Love Always,
Kristi My
