
At this time of year, one of my favorite things to shop for is a planner. I believe that its a good way of setting intentions for the year and having something to look forward to. Recently, however, I have found that I prefer to make my own planner and kind of incorporate the idea of a bullet journal into it.
After investing so much time in shopping for planners every year and having so many, I’m at the point where I know what I want from one. By taking the time to do it myself, I have the ability to include everything I need instead of having to pick and choose. So for today, I thought I would take the time to share how I go about making my own planner.
Supplies
- Planner Pages
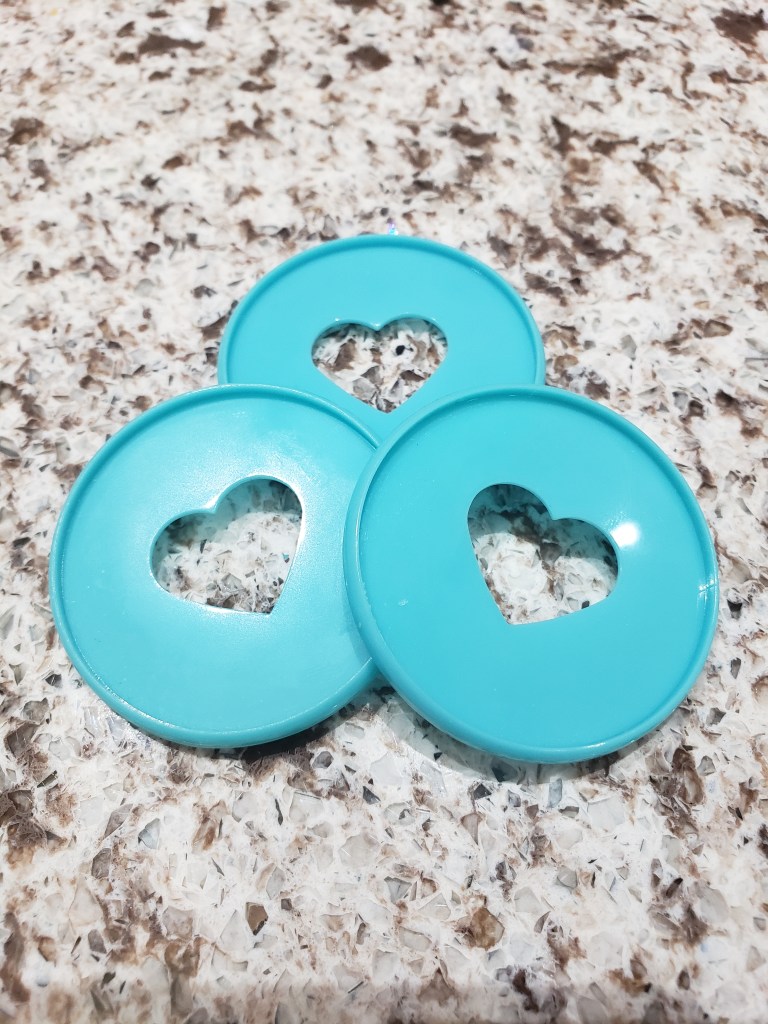
- Rings
- Hole Punch
- Ruler
- Divider Tabs, or Post-It Notes
- Markers
- Pens and Pencils
- Thicker Paper Material
- Optional: Laminate, stickers, paints

Step 1: Prepare Planner Pages
Depending on what you want and need, you can find something online or you can use the ruler, the markers, and some paper to design your own. You can also decide on how big or small you want your planner, and what type of layout you want.
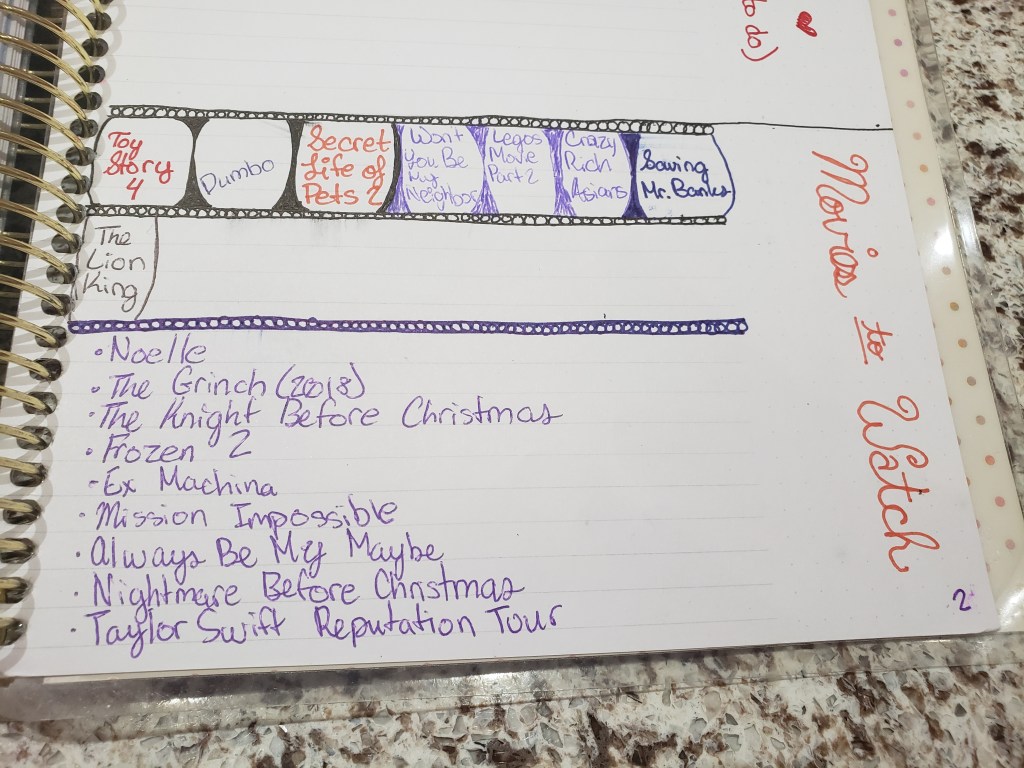
For me, I love going to the Passion Planner website and using the free three month template that they have if you give them your email. The Passion Planner itself is worth what they’re selling for, and I love it, but I find that I also like to design certain pages on my own from my bullet journal days. Examples would be pages such as my Bookshelf for the Year page, or How I’m Accomplishing My Goals page.
This is also the time to label your dividers with each month, or to put Post-It Notes labeling the pages as you see fit. That’s the beauty of you doing it yourself.
Step 2: Culmulate Planner
With the prepared pages, I use the hole punch on the appropriate side and then insert them onto the rings. I’ve chosen to use the rings and hole punch from me & my big ideas because I loved that I could put pages in and take out pages from the Happy Planner that I once had. It allows me to rearrange if necessary, and that’s what I need because I’m human and I make a lot of mistakes.
A good alternative if you don’t want to invest in the specialized rings and hole punch is using a standard binder and three-hole punch. That actually might make the next step easier.
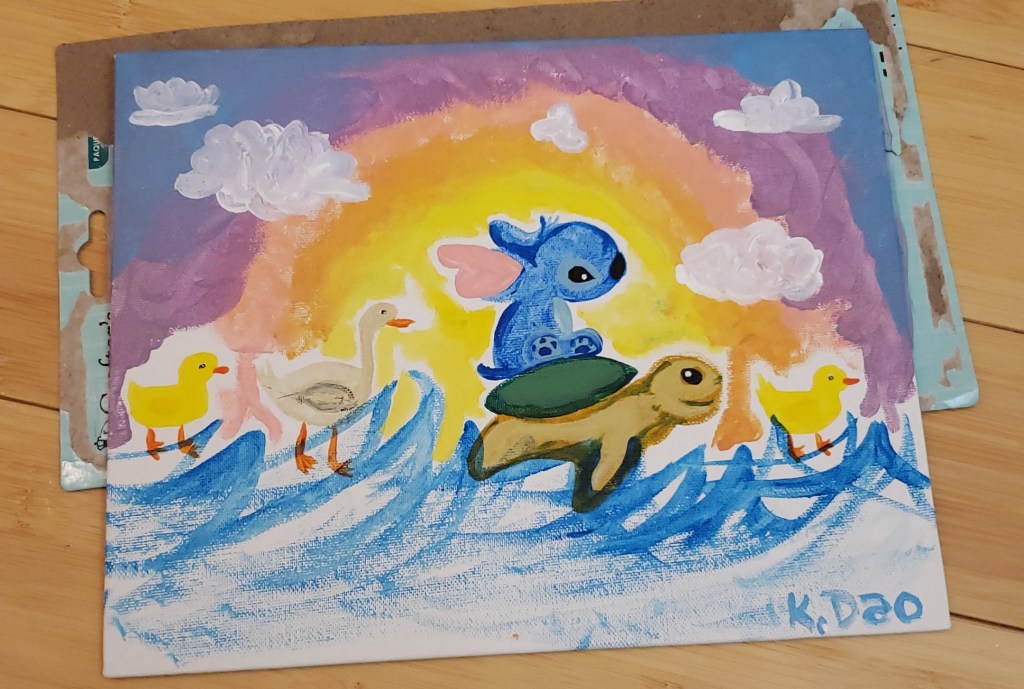
Step 3: Design a Cover
With the thicker paper material, design your cover to be what you want it to be. If you don’t want to invest in buying thicker paper, you can take the cover off of an old spiral notebook if you so choose.
To be honest, I’m not so creative when it comes to drawing and painting, so I end up having to use stickers and incorporating simple doodles and inspirational quotes. This year for my cover, I am using the lid of a box that my sister gifted to me for Christmas. The lid kind of caved in, but it’s too cute for me to throw away, so I’m repurposing it in that way.
After designing your cover and preparing your back cover, you can laminate it so that it lasts longer. Then you can hole punch it and attach it in its appropriate place.
And there you have it, a DIY planner. How did yours turn out? Or is there a planner brand that you absolutely cannot live without? What do you think is an absolute necessity when it comes to planners?
Now that my planner is complete, I have worked on an editorial calendar for the coming year. I’m looking forward to what the new decade has to come, and I actually have a really exciting project I’m going to share soon. To celebrate that, I’m going to be blogging for the next couple of days until I make that announcement.
If you liked this blog post and don’t want to miss what’s next to come, please take the time to subscribe to my email list. Also feel free to share your thoughts with me in the comments, and to share with your friends if you so desire. Thanks for reading.
Love Always,
Kristi My
